How To Make A Cornice Board
DIY Cornice
Assembly Instructions
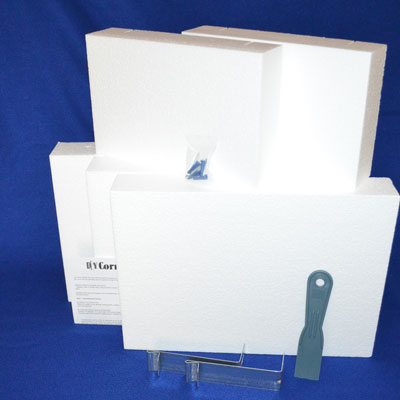
Purchase A Cornice Kit
  |
||
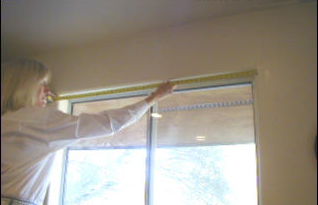
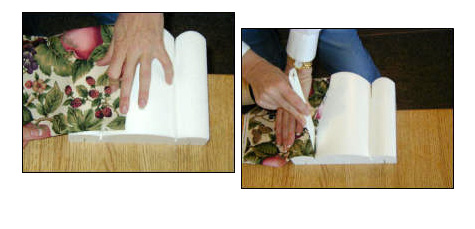
The first step in making a cornice is to measure the width of your window (include blinds and existing window treatments) and add 2" to the measurement. For example: The window measures 42" + 2" = 44" Your topper is 48" so you will need to cut 4" off of one of the extension pieces. |
||
 |
||
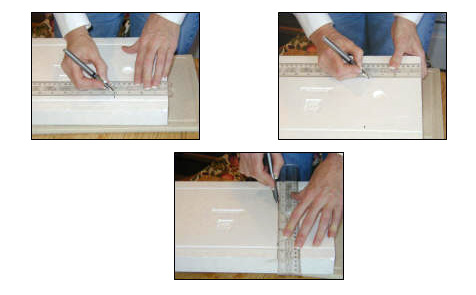
Measure and mark the back of one of the extensions where the cut is to be made. |
||
 |
||
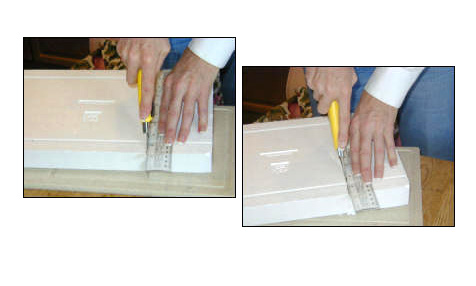
Using a utility knife and leving your straight edge in place, cut along the edge in a slow up and down motion. |
||
 |
||
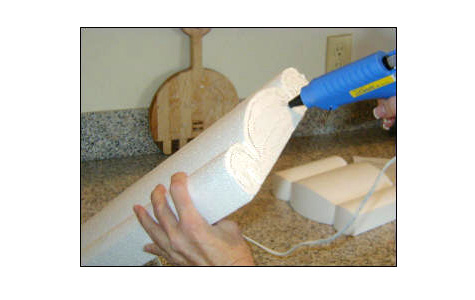
Apply glue to the end of one of the sections to be joined. |
||
 |
||
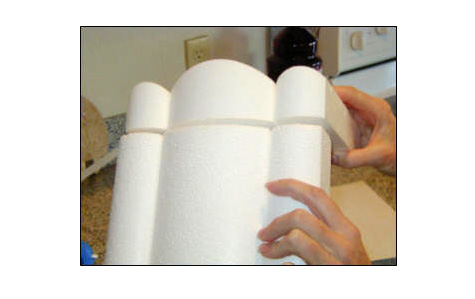
Align the sections before joining them. |
||
 |
||
Join the sections and hold them for a few seconds until the glue sets up and holds the sections securely in place. Repeat this process until the entire topper is assembled. |
||
 |
||
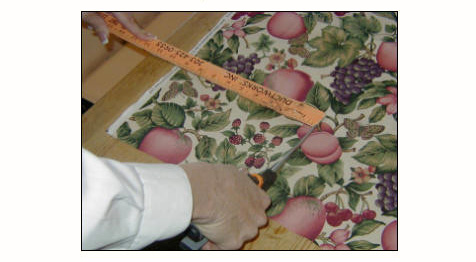
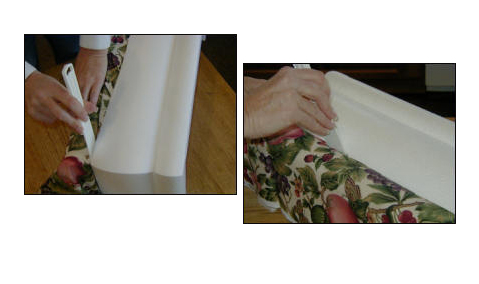
Measure the width of your fabric strip and cut using scissors or a rotary cutter. Instructions included in the kit go into further detail and suggestions on this process. |
||
 |
||
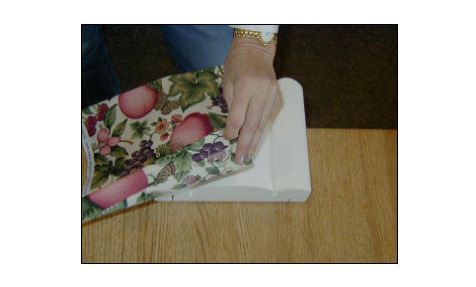
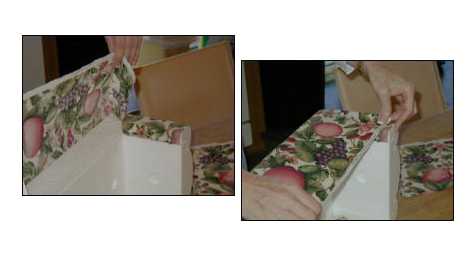
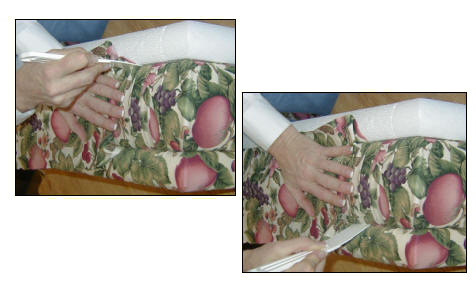
Fold the edge of the fabric under 1" so that you have a finished edge where the return meets the wall. |
||
 |
||
Apply the fabric "flat or smooth" on the outer rail. Place the fabric over the upper groove on the front of the topper and prepare to tuck. Using the tuck tool from your kit, tuck the fabric into the groove. Continue tucking until you come to the corner. |
||
 |
||
To tuck around the corner, simply fold the fabric so that it has a small pleat and looks nice as you tuck along the front side of the topper. 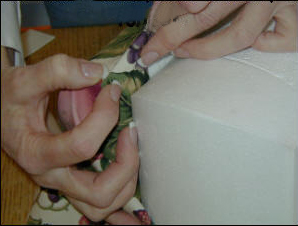 |
||
Continue tucking and complete across the entire groove. Repeat the previous step when you come to the 2nd corner. |
||
 |
||
You are now ready to decorate your 1st mitered corner. |
||
 |
||
 |
||
This creates the flap of fabric that is to be tucked into the groove on the back of your return section. |
||
 |
||
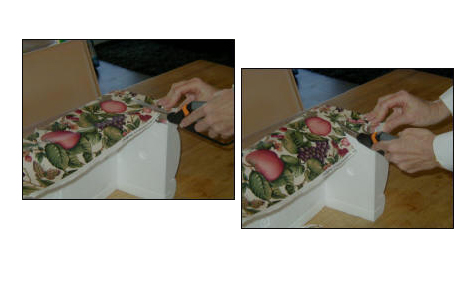
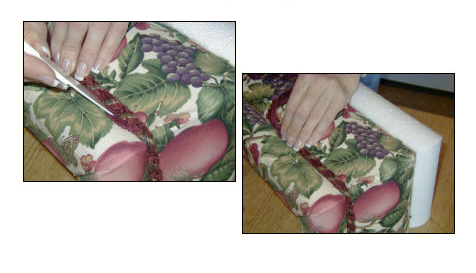
Now place you fabric from the front of your topper towards the back and prepare to make your 2nd cut with your scissors. |
||
 |
||
Using the edge of you return as a guide, cut until your scissor tips hit te corner's edge. |
||
 |
||
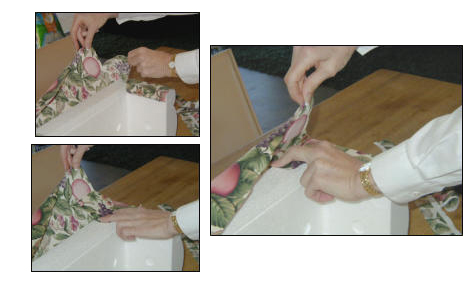
Place the small corner flap of the fabric on top of the topper and fold the front flap of fabric across from front to back. |
||
 |
||
Tuck a small section of the flap into the groove on the back of the topper to secure the new mitered corner in place. Repeat the process on the other corner and finish tucking across the entire groove on the back of the topper. |
||
 |
||
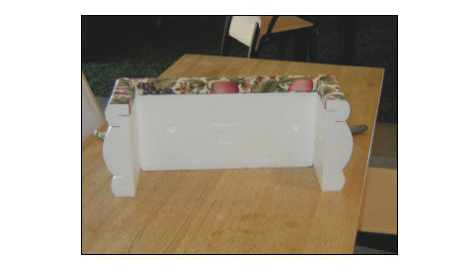
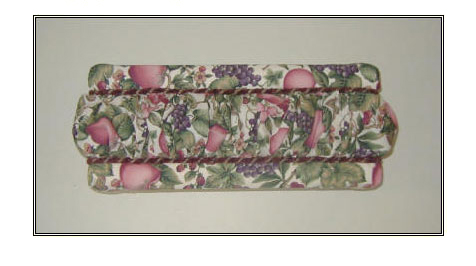
Your topper will look like this. Repeat these steps on the other outside rail of the topper. You will then be ready to apply your fabric to the middle section of the topper. |
||
 |
||
This look is achieved by simply folding and tucking repeatedly over and over again. |
||
 |
||
Trims are easily added to your topper. If using trims with a lip cord, simply tuck the lip cord into the tuck groove. This adds a beautiful finishing touch to your topper. |
||
 |
||
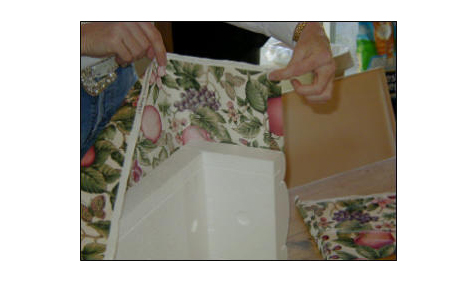
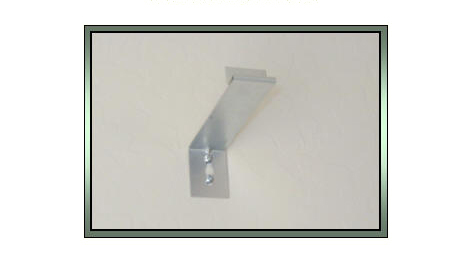
All necessary hardware will be included in the kits and extensions. They mount easily to the wall using a screwdriver or drill. |
||
 |
||
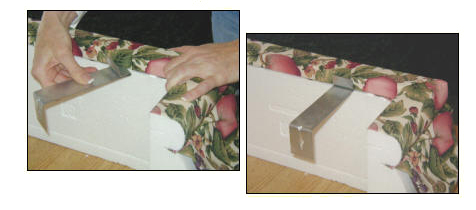
Determine the height you want your topper to be by putting the bracket in the groove on the back of the topper. Hold it up on the wall. Mark where the bracket should go. Mount your first bracket and use a level to determine the height of your next one. You will want to evenly space your brackets about every 30 to 36 inches. |
||
 |
||
Hang your completed topper by placing it up to the brackets that you have mounted on the wall and simply push the groove onto the brackets. |
||
 |
||
 |
State of the art, light weight, do-it-yourself window cornices. This is a professional full return cornice box. No sewing, gluing or stapling is required to decorate the cornice. It is manufactured from expanded polystyrene (EPS), a very durable and stable product. The cornice boxes are constructed prior to application of fabric using a low temperature hot glue gun.We also offer the only solution for the do-it-yourselfer for bay and corner windows.This product is flame retardant and creates an incredibly strong bond when using a glue gun. Since this is a EPS product, it is light weight and much easier to hang than wood cornices. We also offer a much better solution for those hard to work with bay window angles than wood cornices can.
All kits come with a complete set of instructions, brackets and screws and anchors for hanging. Extension kits provide the ability to make cornices for any width window.